Any way to add Spotify to Final Cut Pro as the background music for video clips? Here in this post, we are here to show you how to add Spotify to Final Cut Pro as BGM. Please step on with us and see how to do that.
Part 1. Get Spotify Music for Final Cut Pro via DRmare Music Converter
To add Spotify to Final Cut Pro, you can use the DRmare Music Converter. By using this tool, you can convert and download Spotify music as local files for Final Cut Pro. You can set Spotify music as Final Cut Pro supported formats, then you can move Spotify music to Final Cut Pro for your video clips.
With the DRmare Music Converter, you can not only set Spotify music as MP3, but also M4A, FLAC, AAC and so on. And you can output Spotify music with original audio quality and with ID3 tags kept. And this tool can batch convert tracks from Spotify at a fast rate. After then, you can get the Spotify music for Final Cut Pro. Then you can go to add Spotify music to Final Cut Pro for your videos.
Part 2. How to Convert Spotify Music for Final Cut Pro
Before adding Spotify music to Final Cut Pro, you need to convert Spotify songs to Final Cut Pro supported formats. Now, let’s see how to use DRmare Music Converter to convert Spotify music for Final Cut Pro.
Step 1. Download and install DRmare Music Converter
Go to DRmare Music Converter webpage and download the program on your computer. Then finish the installation.
Step 2. Open DRmare Music Converter

Now, open the DRmare Music Converter and you can see the main screen of it. At the same time, you can see the Spotify app launched also.
Step 3. Import music from Spotify to DRmare
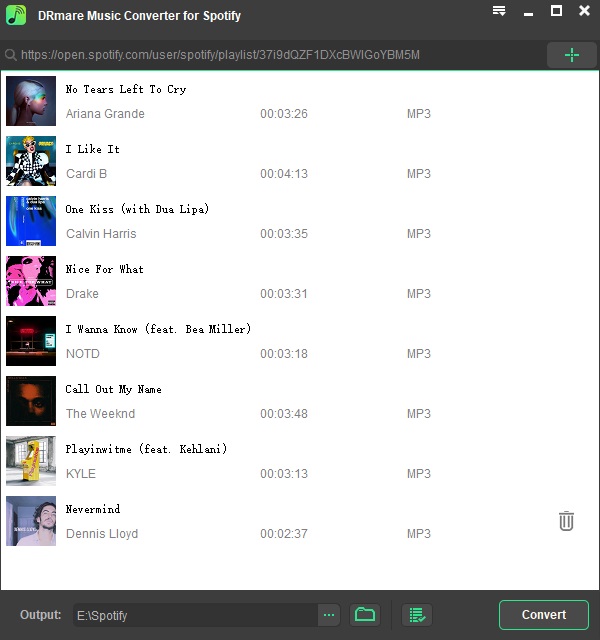
Go to Spotify app to get the songs you like to add and convert to Final Cut Pro. Then drag and drop them to DRmare program main interface. Or you can import Spotify songs to DRmare via copying and pasting the link of Spotify songs. Then put the link to the search bar on DRmare and hit ‘+’ button.
Step 4. Alter Spotify music audio format for Final Cut Pro

Here you need to define the Spotify music audio format for Final Cut Pro. Please find the Menu icon and touch on it from the top right on DRmare. Then click ‘Preferences’ and then hit the ‘Convert’ option. Then you can start to set the audio format, bit rate, etc. of Spotify for Final Cut Pro. After then, please hit ‘OK’ button.
Step 5. Convert Spotify music for Final Cut Pro
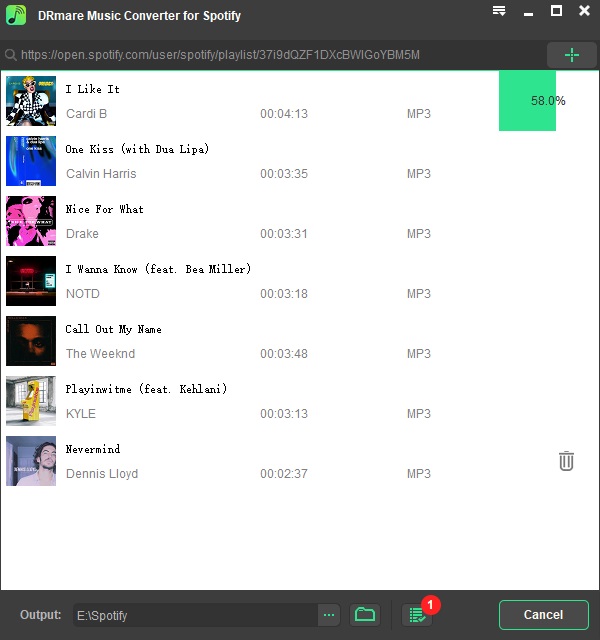
Now, you can start to convert Spotify music for Final Cut Pro. Please touch on the ‘Convert’ button to start. A minute later, you will get the converted Spotify music for Final Cut Pro. Then you can find them on your computer via the ‘Converted’ button.
Step 6. How to Add Spotify to Final Cut Pro
1. Open the Final Cut Pro on your computer.
2. Hit ‘Window’ > ‘Go To’ > ‘Photos and Audio’ to launch the Photos and Audio sidebar. Or you can use the ‘Shit-Command-1’ hotkeys to do that.
3. Click on ‘Music’ at the Photos and Audio sidebar. While on MacOS Mojave, you need to hit ‘iTunes’, not ‘Music’.
4. Find and choose to add Spotify music to Final Cut Pro.
5. Hit on the ‘Music’ show-up menu and hit the Spotify folder. After then, you can get and add Spotify to Final Cut Pro for your videos.
